Freeze dryers have revolutionized the way we preserve food, offering a unique method that retains flavor, nutrients, and texture without the need for added preservatives. If you're new to freeze drying or looking to brush up on your skills, you're in the right place.
In this comprehensive guide, we'll walk you through the process of using a freeze dryer step by step, so you can enjoy the benefits of preserved food with ease.
Step 1:
Preparation Before you begin, gather the ingredients you wish to freeze dry. This can include fruits, vegetables, meats, dairy products, and even prepared meals. Wash and prepare the ingredients as you normally would for consumption, removing any stems, seeds, or tough skins.
Step 2:
Pre-Freezing Once your ingredients are prepared, arrange them in a single layer on a baking sheet or tray and place them in the freezer. Pre-freezing helps to maintain the shape and integrity of the food during the freeze-drying process and ensures even drying.
Step 3:
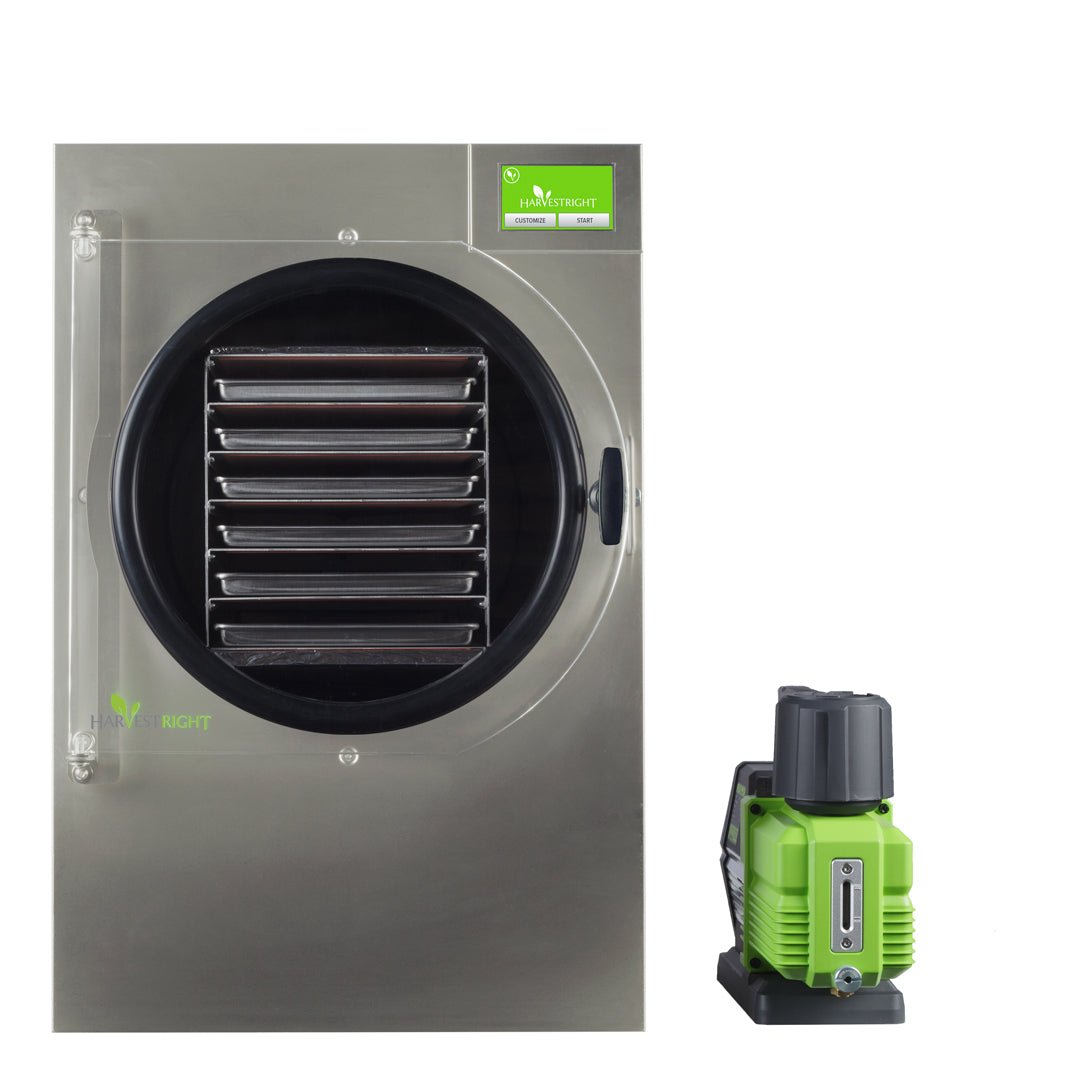
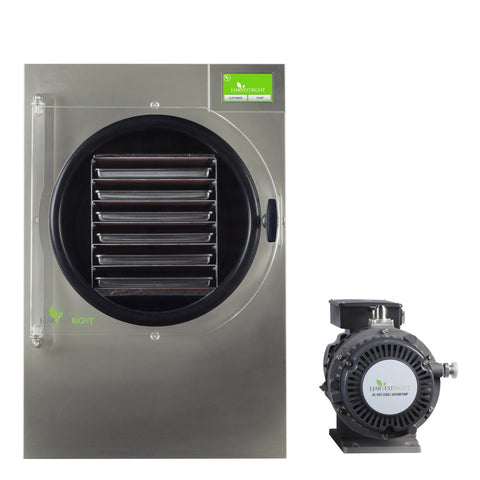
Loading the Freeze Dryer Once the ingredients are pre-frozen, it's time to load them into the freeze dryer. Arrange the frozen food evenly on the trays provided, making sure not to overcrowd or overlap the pieces. This allows for proper air circulation and ensures uniform drying.
Step 4:
Setting the Parameters Most modern freeze dryers come equipped with user-friendly controls and settings. Follow the manufacturer's instructions to set the parameters for your specific food items, including temperature, vacuum pressure, and drying time. These settings may vary depending on the type and quantity of food being freeze dried.
Step 5:
Initiating the Freeze Drying Cycle Once the parameters are set, start the freeze drying cycle. The freeze dryer will gradually decrease the temperature, causing the frozen water in the food to sublimate and evaporate into vapor. As the moisture is removed, the food will shrink in size and become lightweight and crispy.
Step 6:
Monitoring the Process While the freeze dryer is running, periodically check the progress of the drying cycle. Depending on the type of food and the settings used, the process can take anywhere from several hours to a couple of days. Look for signs that the food is fully dried, such as a crisp texture and no visible moisture.
Step 7:
Removing and Packaging the Freeze-Dried Food Once the freeze drying cycle is complete, carefully remove the trays from the freeze dryer. Transfer the freeze-dried food to airtight containers or vacuum-sealed bags for storage. Properly packaged, freeze-dried food can last for months or even years when stored in a cool, dry place.
How to use a freeze dyer?
Using a freeze dryer may seem daunting at first, but with the right knowledge and preparation, it's a straightforward process that yields delicious and nutritious results.
By following these simple steps, you can enjoy the benefits of freeze-dried food in your own kitchen and elevate your food preservation game to new heights.